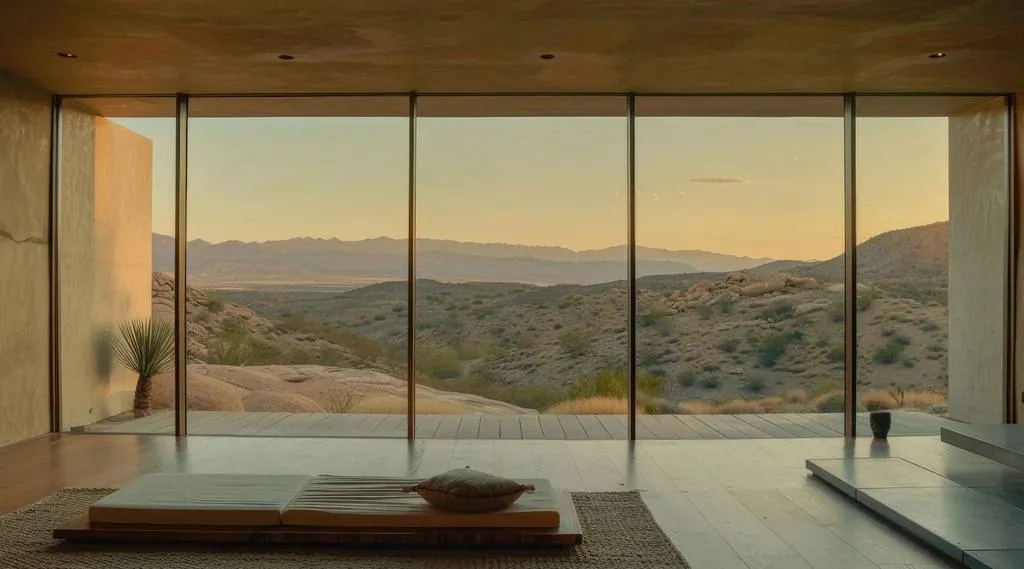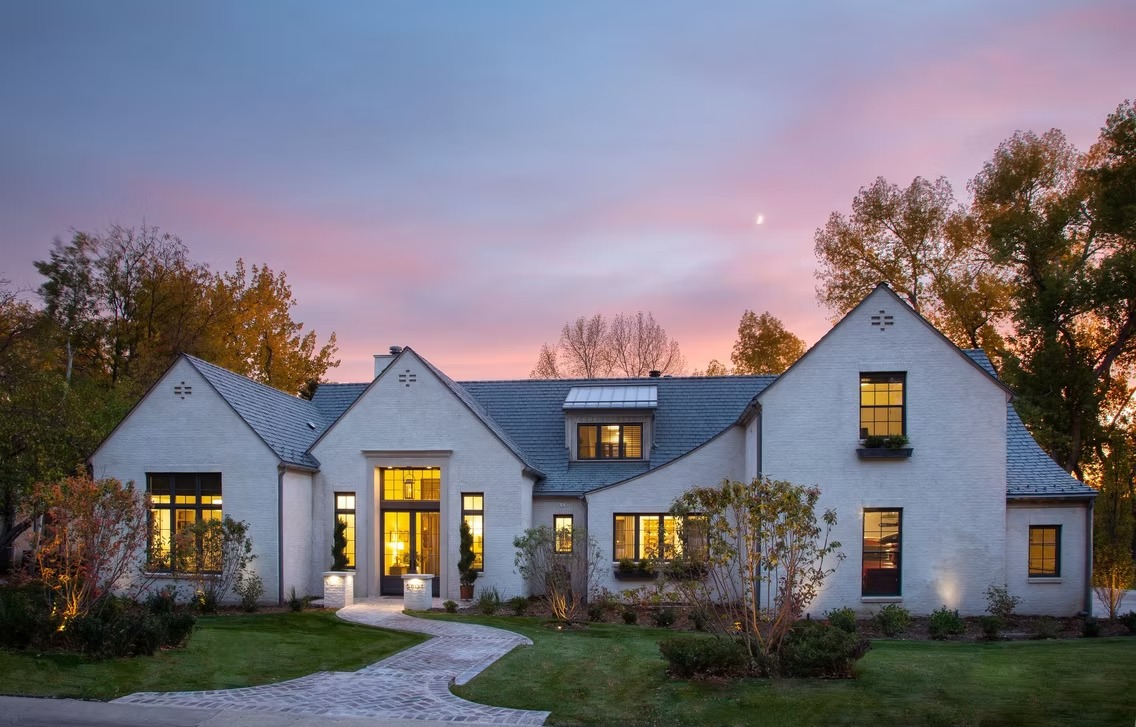

Drive a foothills road on a February night. Snow glows on the ground. Soft light falls through the branches of a ponderosa pine, and a stone wall shows every ridge. Somewhere in the middle, a house sits quietly, lit mostly by its warm windows.
Next door, two floodlights blast the garage and shine into the sky. In seconds, you can tell which home a designer lit.
Good landscape lighting lights the trees, walls, and paths, not the front of the house. Use one warm color, 2700K, everywhere. Light trees from above when you can, and hide every bulb.
Then plan the wiring before any concrete or stone goes in.
Quick Tips
Light the land; the house appears
Use one color, 2700K
Moonlight from trees when you can
Graze textured stone from close up
Plan zones you can dim for snow
Set conduit and sleeves before concrete is poured
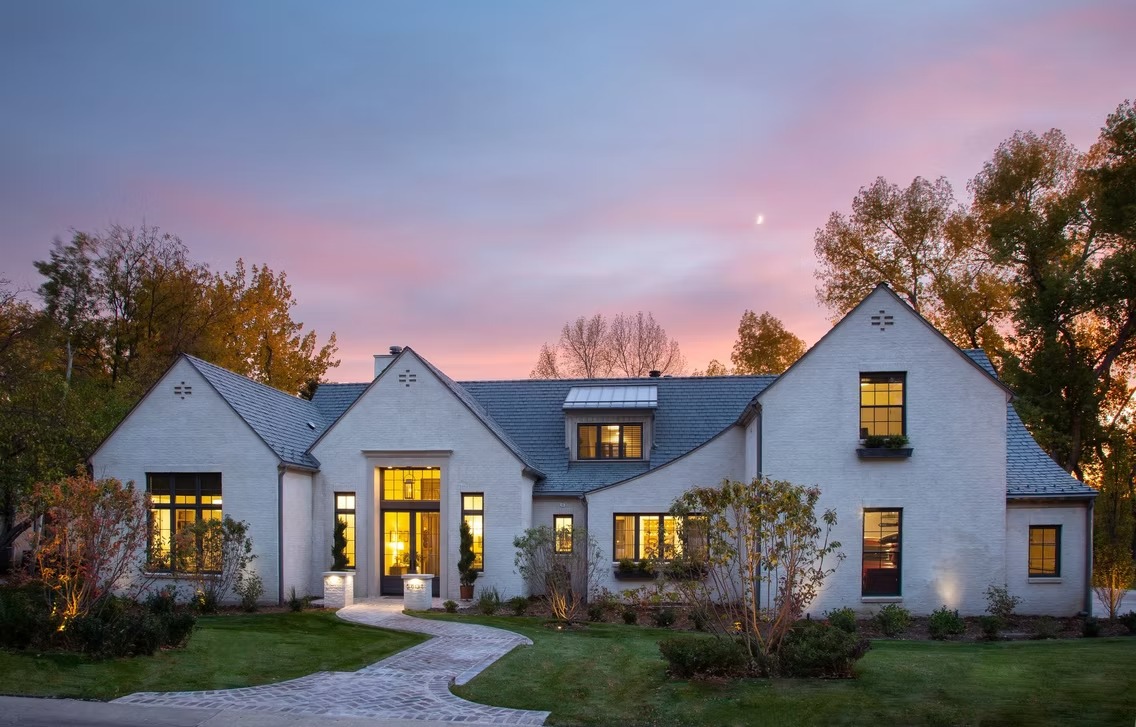
Most people light the front of the house first. Resist that. A washed stone wall looks flat.
Light the trees at the edge of the lot instead. The house stands out as a calm shape against them. Light the wall that leads to the door, so the entry is the brightest spot.
It is the same idea as a lighting design versus a lighting layout. A count of lights is not a plan.

In nature, light comes from above. Mount a tight beam light twenty to thirty feet up a big tree and aim it down.
Light falls through the branches in a soft pattern on the ground. This is called moonlighting. People under it do not even know they stand in lit space.
It is harder to reach for repairs, so tell your designer early if that matters to you.
Use 2700K on every light. Warm light looks good on stone, bark, cedar, and skin.
Snow makes mixed colors easy to spot. One cool light makes a blue patch on a white lawn. Write the color on the plan and keep matching spares.
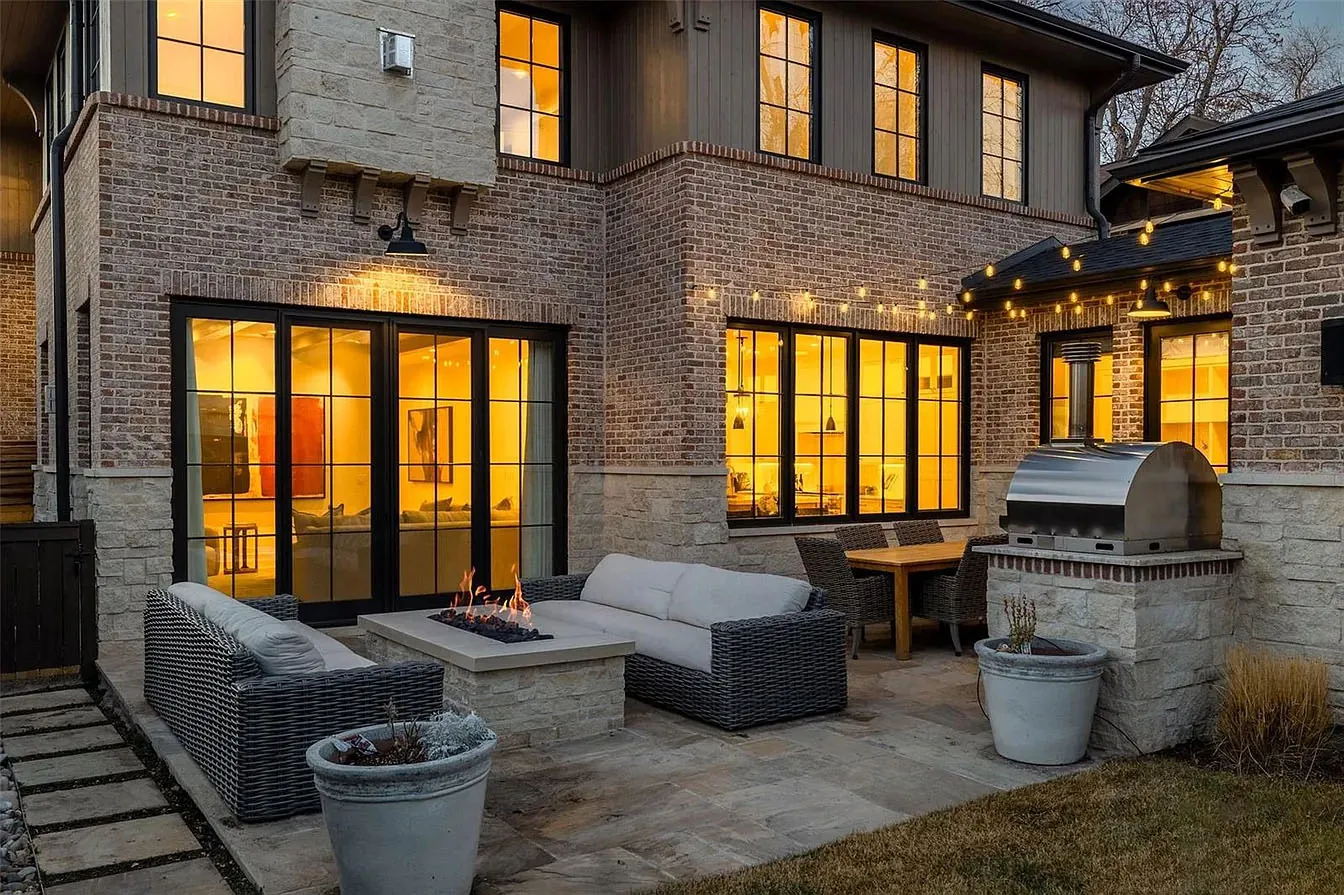
Set a light four to eight inches from a stone wall and aim it up. Every bump casts a shadow. Move it a few feet out, and the texture vanishes.
Leave flat stucco dark and light the plants in front of it. See building light in layers.
Walk every path at night. If you see a bright dot instead of a lit object, fix that light.
Low glare lighting also keeps the stars bright. In mountain towns, check local outdoor lighting rules first.
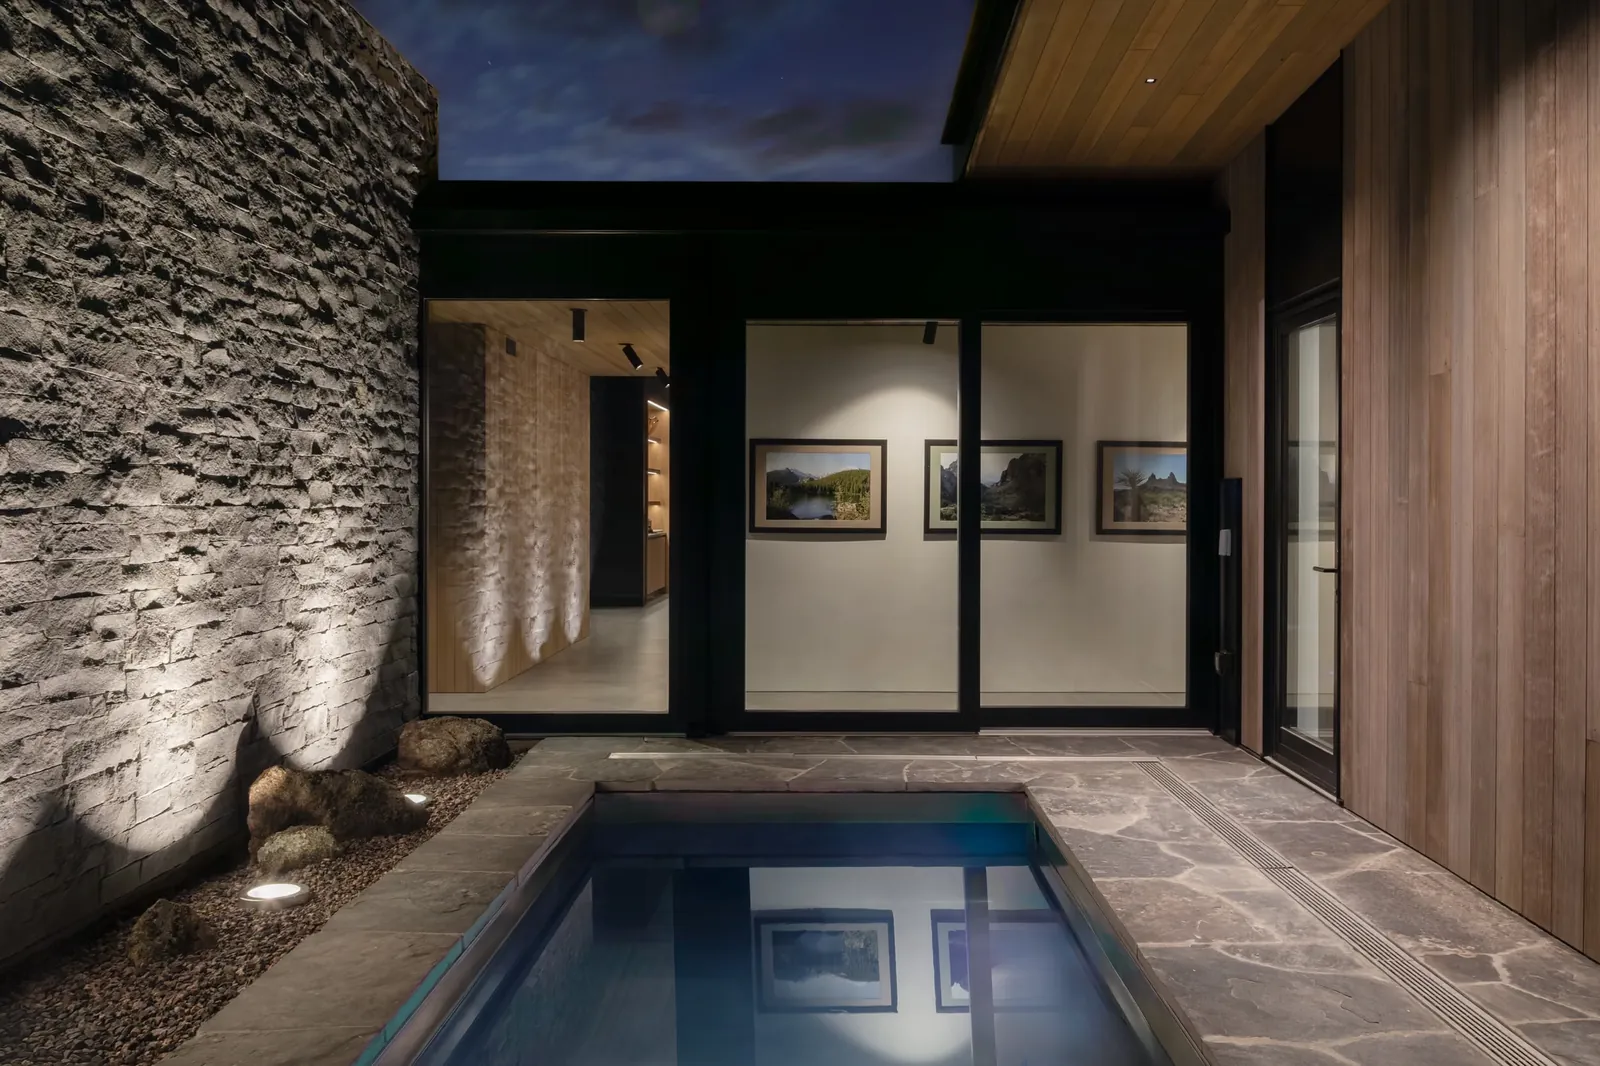
"The technology enhances how I live, but it never demands my attention. Everything is so beautiful in the background."
The Homeowner, Cherry Hills Village
Winter is the longest viewing season in Colorado. Leafy trees go bare, and snow bounces light everywhere.
Split lights into zones you can dim: leafy trees, evergreens, stone, and paths. On a control system like Crestron, the summer to winter change is just a setting.
Give in ground lights real drainage, and keep them out of snow piles along the drive.
On long wire runs, far lights get dimmer and shift color. Size the wire for the distance, and split the yard into several runs.
Sleeves under drives and patios must go in before anything is poured. Miss that window, and you cut finished stone. Read why to plan early.
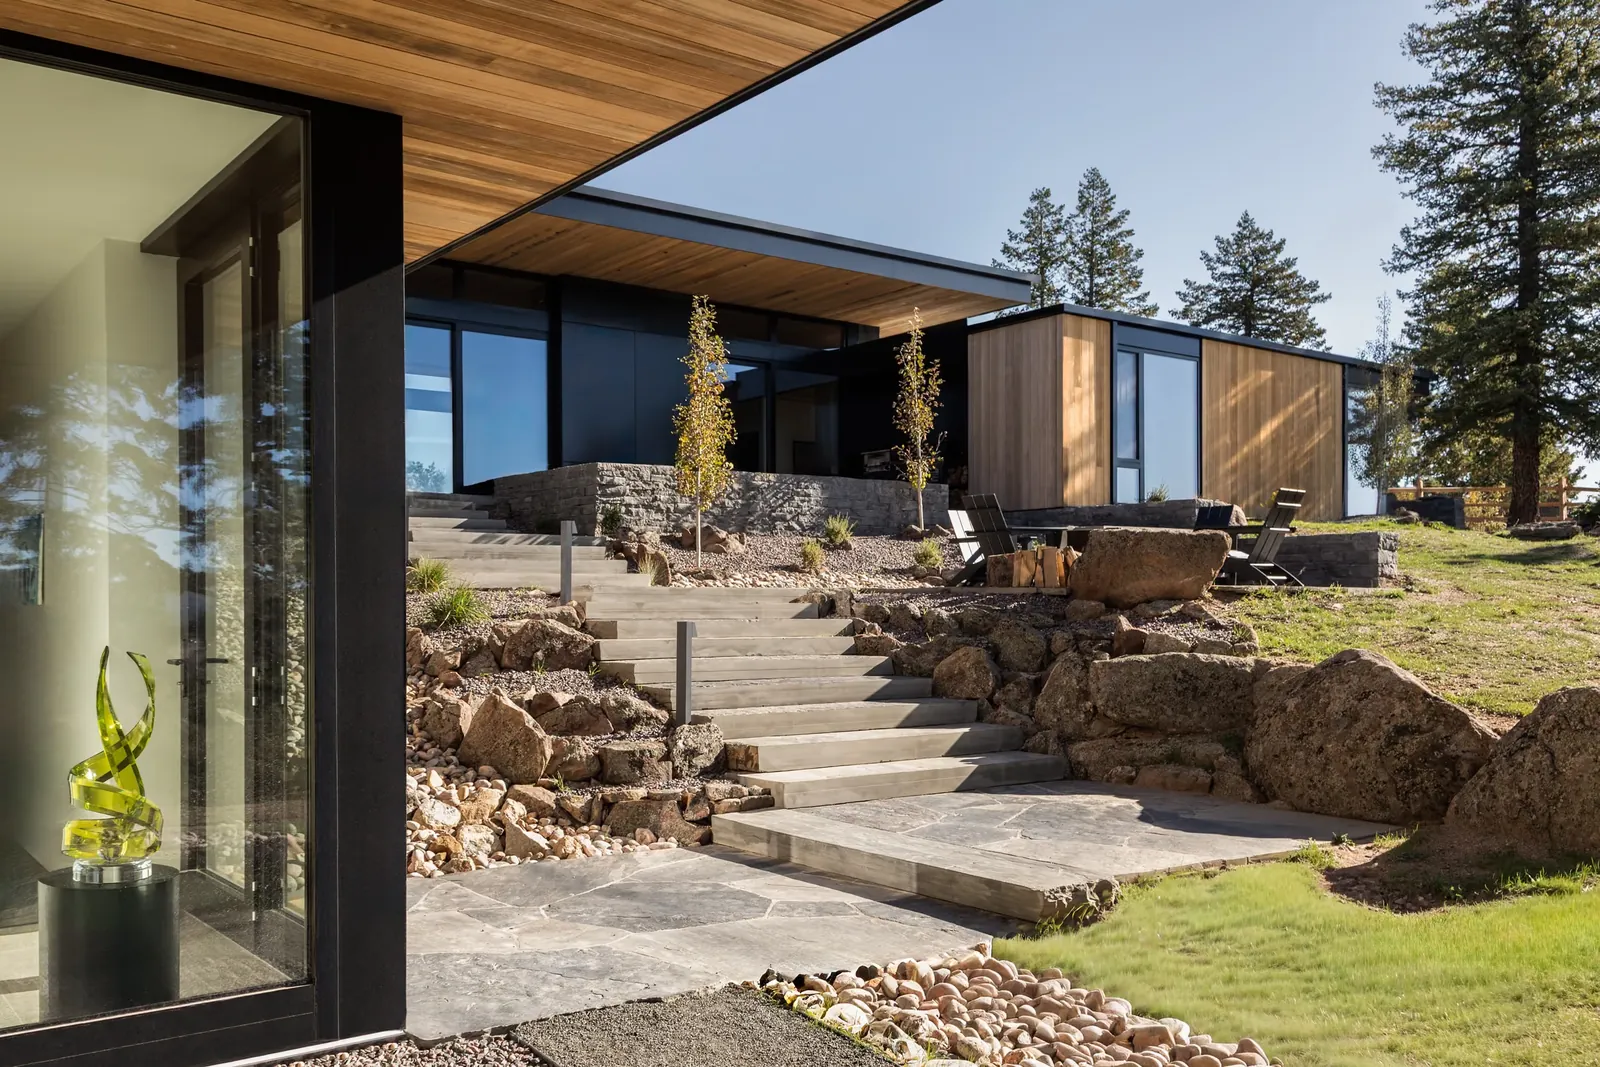
At QAV, the same team draws the outdoor plan and sets up the keypads, timeclock, and scenes. Read why one team should design and control the light.
Then the team aims every light on site after dark. QAV Client Care comes back so the seasonal aiming visit actually happens.
QAV is a lighting and home technology firm in Centennial, Colorado. We design for homes across the Denver area and in mountain towns like Evergreen and Vail.
QAV is HTA Certified at the Estate Level, which puts us in the Top 1% of integrators in North America. Tyson Rabani sits on the Crestron Dealer Advisory Board for QAV. He is the only Colorado integrator on a board of about a dozen members worldwide.
Our Two Dog Vista project in Evergreen won the 2026 Crestron Home Technology Award for Best Entertainment Everywhere. See all our awards and recognition.
Start with architectural lighting design and control. Bring a photo of your property at dusk and one in snow.
Visit the QAV Experience Center in Centennial, open by appointment. Or contact QAV to start your project.

Landscape lighting design plans how a property looks at night. It decides what you see, how bright each thing is, and where you see it from. The result is a drawing. It shows each light and its beam, brightness, color, shield, circuit, and zone. It is done before anyone buys a light.
Use one warm color across the whole property, usually 2700K. However, it may vary depending on plant selections. Warm light looks good on stone, bark, cedar, and metal. Mixed colors are the most common outdoor mistake. Snow makes them easy to spot, because snow reflects whatever light hits it.
Lighting from above usually looks more natural. Mount a light twenty to thirty feet up in a big tree and aim it down. The light falls through the branches in a soft pattern. Uplights are easier to reach and look great on trunks with strong bark. Most good plans use both.
Moonlighting means mounting a tight beam light high in a tree and aiming it down through the branches. The light lands on the ground in a soft pattern, like moonlight. You need a lift or a climber to fix or re aim it. The mount must give the limb room to grow.
Snow reflects light, so a plan set for summer can look too bright in winter. Split the lights into zones you can dim, like trees, stone, and paths. Give in ground lights good drainage. Keep lights out of snow piles along the drive.
Plan it before any concrete or stone goes in. Sleeves under drives, patios, and stone must go in first. Conduit to the trees and the lot line must go in while the digger is on site. If you wait, you must cut finished stone or light only what the old routes reach.